These instructions apply to the Mazda CX-30 Mk1 (DM) 2019-Present.
For other models, please choose your vehicle here.
The Mazda CX-30 (DM, 2019–Present) shares its Skyactiv-Vehicle-Architecture platform with the Mazda 3 BP, and with it the same switch-operated electric parking brake (EPB) on the rear calipers. Changing the rear pads means first parking the rear caliper motors fully open — maintenance mode. Mazda documents the CX-30 sequence in the owner’s manual, so you can put the brake into service mode in-car with the pedals and EPB switch; no Mazda IDS or generic OBD EPB tool is required for a routine rear pad change.
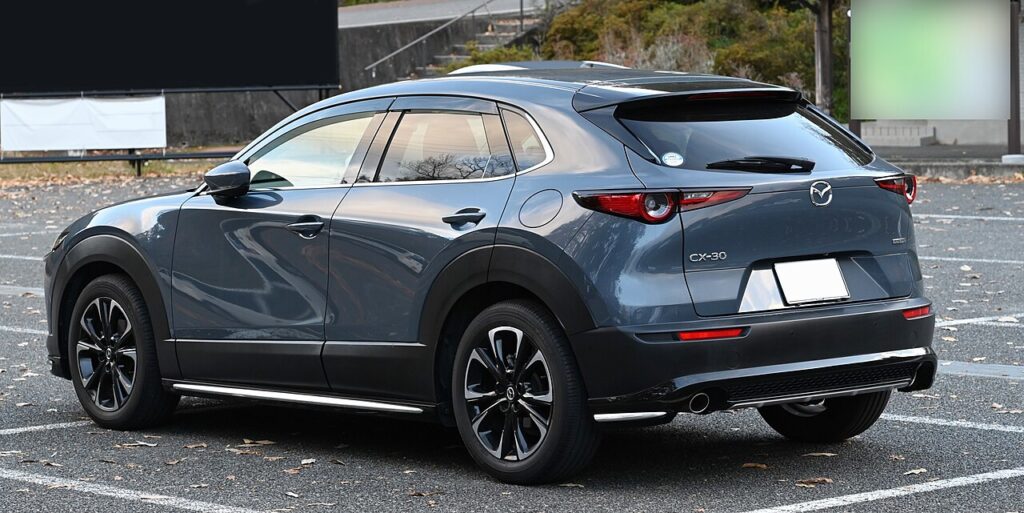
Putting the CX-30 parking brake into maintenance mode
Set the mode before you remove the caliper, with the car cold, level and the wheels chocked.
- Switch the ignition to ON with the engine off (press start twice, foot off the brake pedal).
- Press the brake pedal and push the EPB switch down to release the parking brake.
- Release the brake pedal, then press the accelerator pedal fully to the floor and keep it held.
- With the accelerator still down, press and release the start button three times within 5 seconds (OFF → ACC → IG-ON).
- Confirm the brake-control system warning light shows amber — maintenance mode is now active and the pad-to-disc clearance has expanded.
With the mode active, the rear pistons press straight in — pliers or a piston spreader are enough and no rotation is required. Do not turn the pistons.
Critical warning: never force the pistons by hand
The motor and gear unit sit directly behind each rear piston. If the EPB is still clamped and you lever, clamp or hammer the piston back, you strip the gear train or shear the actuator spindle — that is a replacement caliper, not an adjustment. Retract the brake electronically through maintenance mode, every time. Keep a battery maintainer on the 12V battery: the actuator needs a stable supply, and disconnecting the battery neither retracts the EPB nor protects it.
Exiting maintenance mode and bedding in
After the new pads are fitted: ignition ON (engine off), hold the accelerator fully down, pull the EPB switch up and hold it, then press start three times within 5 seconds. The amber light goes out and the EPB runs its automatic adjustment, with the motor running longer than normal — let it finish before driving. Cycle the EPB on/off a couple of times while stationary, then bed the new pads with 10–15 gentle stops and easy braking for the first 150–200 miles.
Frequently Asked Questions
Is the CX-30 procedure the same as the Mazda 3? Yes — both ride on the same platform and use the same EPB module, so the key-sequence maintenance mode is identical.
Do I need a diagnostic tool for CX-30 rear pads? No. The owner key-sequence puts the brake into maintenance mode, so an IDS or OBD EPB tool is optional, not required, for a routine rear pad change.
How do I confirm the mode took? The brake-control warning light turns amber and the rear motors wind back audibly. No amber light means it timed out — repeat it, keeping the accelerator pinned and all three start presses inside 5 seconds.
Do the rear pistons screw in? No. In maintenance mode they push straight back like a front caliper. If a piston resists, the mode is not active — do not rotate it.
Why is the EPB whirring longer when I exit? That is the automatic adjustment re-setting the clamp position against the new, thicker pads. It is normal and should be allowed to complete.
If a brake warning lamp stays lit after the job, read the stored fault before re-working the caliper — Mazda EPB and ABS codes are explained on autodtcs.com.
Independent guide — not affiliated with Mazda. Always follow your official service manual and safety precautions. Read our full disclaimer.