These instructions apply to the Nissan Murano Mk1 (Z50) 2004-2008.
For other models, please choose your vehicle here.
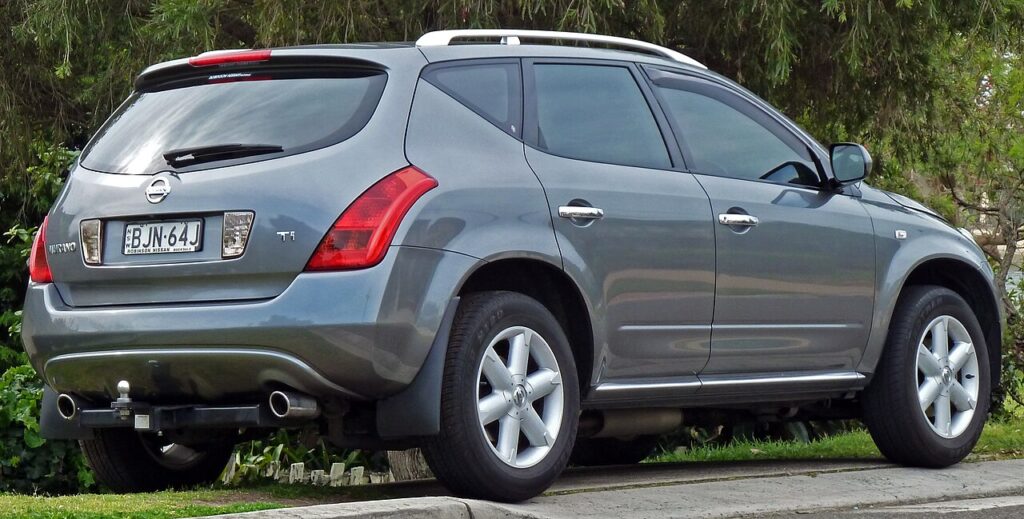
The first-generation Nissan Murano (Z50, 2004–2008) uses the earlier bladed-key remote system rather than a proximity smart key, and that older design has a genuinely useful advantage: the remotes can be paired to the car through a fixed sequence of ignition and button presses, with no diagnostic tool needed. If a fob has stopped locking the doors after a battery change, or you have bought a spare and want it working alongside your existing one, you can teach the car to recognise it yourself. The Murano can hold up to four remote controls at once. This guide walks through entering programming mode, syncing each remote, and renewing the fob’s button-cell battery when the range starts to drop.
How the on-board programming works
The car has a learn mode built into its body control system. Cycling the ignition key a set number of times in quick succession is the “password” that tells the car to open that mode; once it is open, each fob is registered by pressing its buttons in the right order. The important thing to understand is that the sequence rewrites the whole list of accepted remotes in one go — so every fob you want to keep must be programmed within the same session, or it will be dropped from memory. Because it relies on button-cell power, a weak fob battery is the single most common reason the process fails, which is why it is worth checking the cell first.
First, a Few Checks
- Maximum of 4 remotes can be stored.
- Any remote not programmed during the sequence will be erased from memory — gather every fob you intend to keep before you begin.
- Ensure the vehicle battery is fully charged, as the sequence involves repeated ignition cycling.
- Check that all doors unlock and locks operate smoothly.
- Work with the doors closed and the car in a quiet spot so you can hear and see the hazard-light confirmations.
Programming the Remote
- Insert the key and turn the ignition from position 0 → 2, six times within 10 seconds.
- Turn the ignition OFF, but leave the key inserted.
- Wait for 2 seconds — the hazard lights will flash twice, confirming programming mode.
- On the remote, press and hold the unlock button.
- While holding unlock, press the lock button three times.
- Release the unlock button — the indicators will flash once, confirming the remote is stored.
- Repeat steps 4–6 for each additional remote (up to 4 total).
- If 4 remotes are programmed, the indicators flash three times to show the memory is full.
- Switch the ignition ON, then OFF, and remove the key to exit programming mode.
- Test each remote to confirm lock/unlock operation.
Replacing the Remote Battery
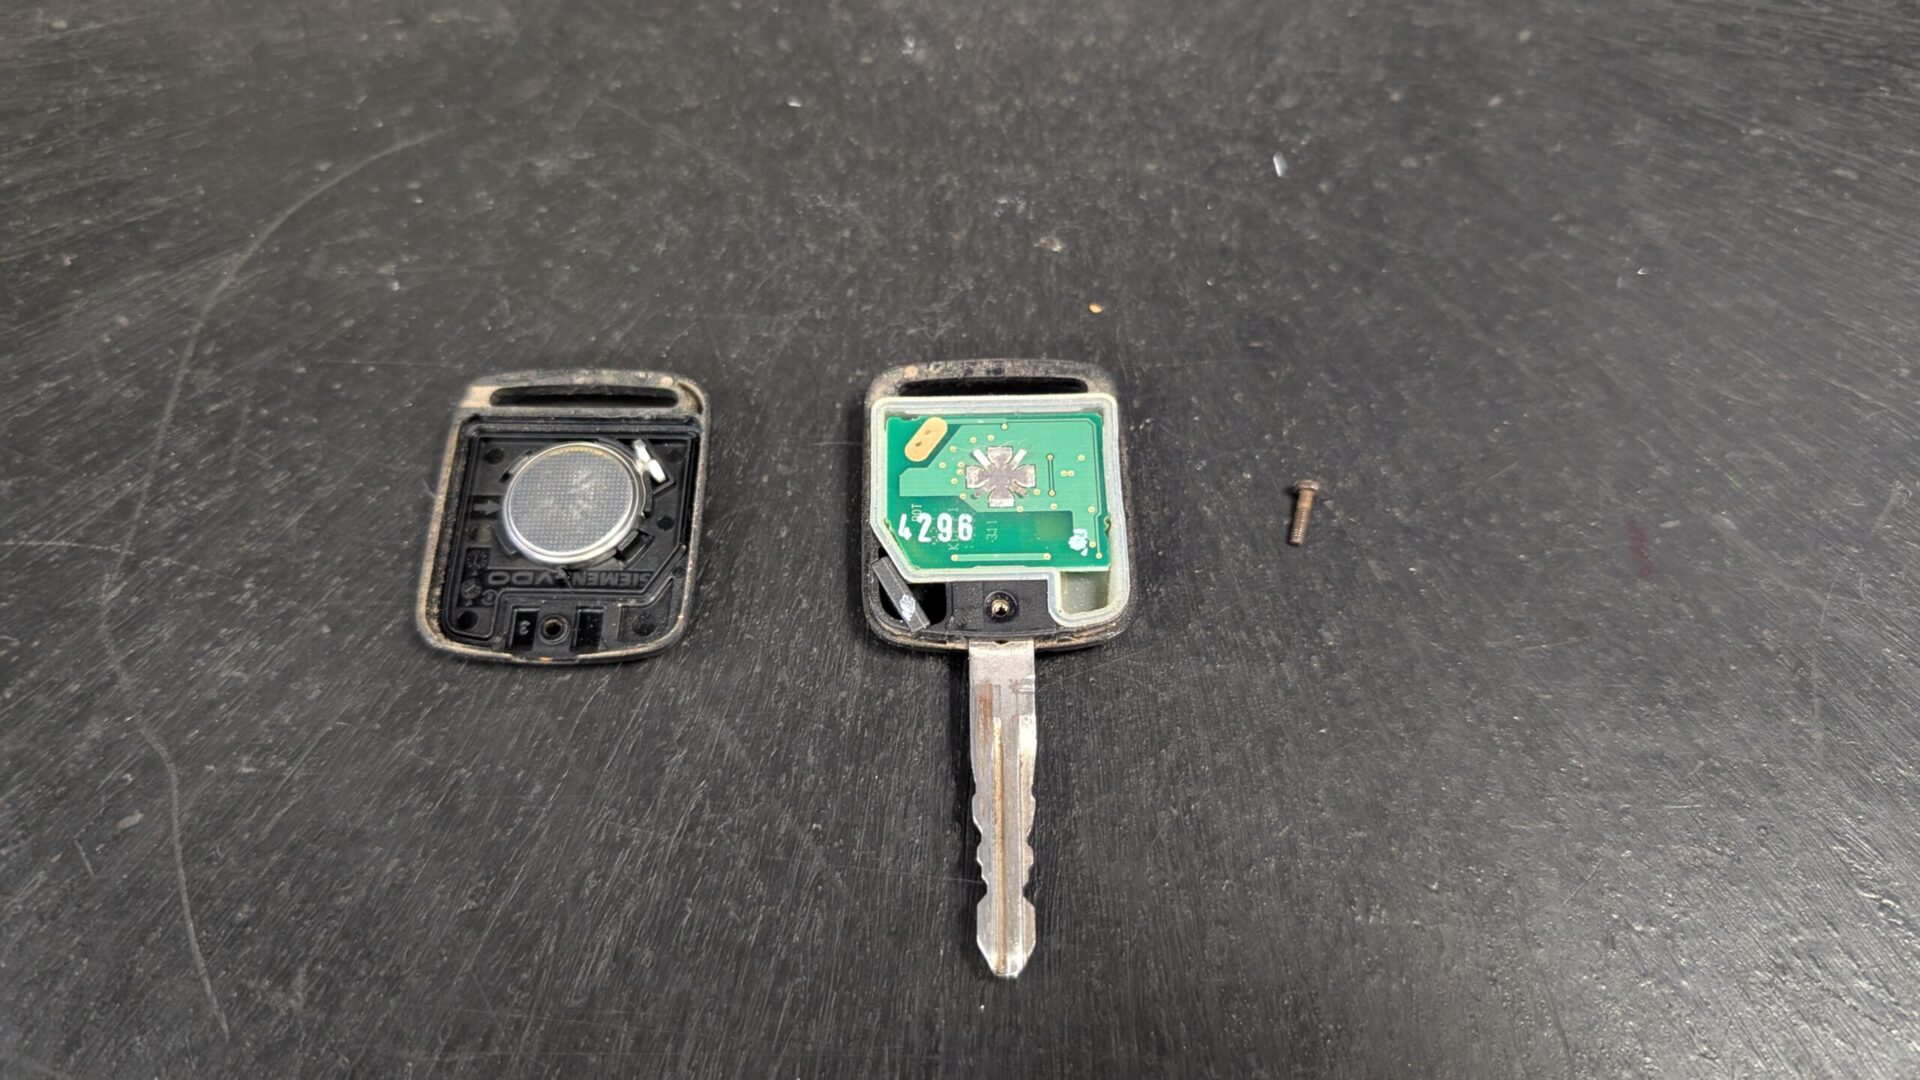
- Remove the small screw securing the fob casing.
- Carefully separate the case with a small screwdriver.
- Do not touch the printed circuit board.
- Replace the button cell with a CR2032 3V battery.
- Reassemble the case and refit the screw.
- Test the remote to ensure proper function.
If the Remote Won’t Program
- If a remote does not program, repeat the procedure from the beginning — the ignition cycling has to be brisk to register.
- Replace the fob battery if the LED or signal is weak before attempting programming; a low cell is the usual culprit.
- Watch the timing on the six ignition cycles — they must all happen inside the 10-second window, or the car will not enter learn mode.
- Always program all remotes in the same session — unprogrammed ones will stop working.
- If programming fails repeatedly with fresh batteries, the Body Control Module (BCM) may require inspection.
Frequently Asked Questions
Do I really need to program all my remotes at once?
Yes. The learn sequence overwrites the car’s stored list of accepted fobs, so only the remotes you actually program during that session stay valid. Any fob you leave out is dropped from memory and will no longer lock or unlock the car, even if it worked a minute earlier. Have every key you want in hand before you start.
My remote stopped working right after a battery change — is it broken?
Usually not. On this generation the fob transmitter itself rarely fails; a flat or poorly seated button cell is far more likely. Fit a fresh CR2032, make sure it is the right way round and seated firmly, and reassemble the case. If lock and unlock still do nothing, run the programming sequence to re-pair it with the car.
What battery does the Murano Z50 fob take?
It uses a single CR2032 3 volt coin cell, the same flat button battery found in many remotes. When you have the case open, avoid touching the circuit board and note which way the cell sits before removing it, so the replacement goes back in the same orientation. Refit the screw and test the buttons afterward.
How do I know the car has actually entered programming mode?
After the six ignition cycles and turning the key off, the hazard lights flash twice roughly two seconds later. That double flash is your confirmation the car is listening. When you then store a fob, the indicators flash once for each accepted remote, and three flashes signal the four-remote memory is full.
Can I add a second-hand fob I bought online?
If it is the correct bladed-key remote type for the Z50 Murano and has a healthy battery, the on-board sequence should accept it just like a new one — remember to include your existing fob in the same session so it is not erased. If the used remote will not take after several attempts, it may be faulty or the wrong variant.
What if nothing works no matter how many times I try?
First rule out weak fob batteries and confirm the vehicle battery is strong, since the repeated ignition cycling loads it. If good batteries and correct timing still produce no hazard-light confirmation, the body control module or its wiring may need a proper inspection, and a workshop with the right equipment can check whether the module is registering the key at all.
If a warning light on the dash appeared around the same time as the key trouble, it can help to know what any stored fault codes mean before you spend on parts — our sister site autodtcs.com breaks down common diagnostic trouble codes in plain language.
Independent guide — not affiliated with Nissan. Always follow your official service manual and safety precautions. Read our full disclaimer.