These instructions apply to the Land Rover Range Rover Velar Mk1 (L560) 2017-Present.
For other models, please choose your vehicle here.
If the tyre-pressure warning has come on in your Range Rover Velar (2017–present) after you’ve adjusted the pressures or changed a wheel, it’s usually not a fault — the system is largely self-managing. Set the pressures correctly and the warning clears on its own; there’s no menu step or button to press. Here’s how it works and how to make sure it goes out.
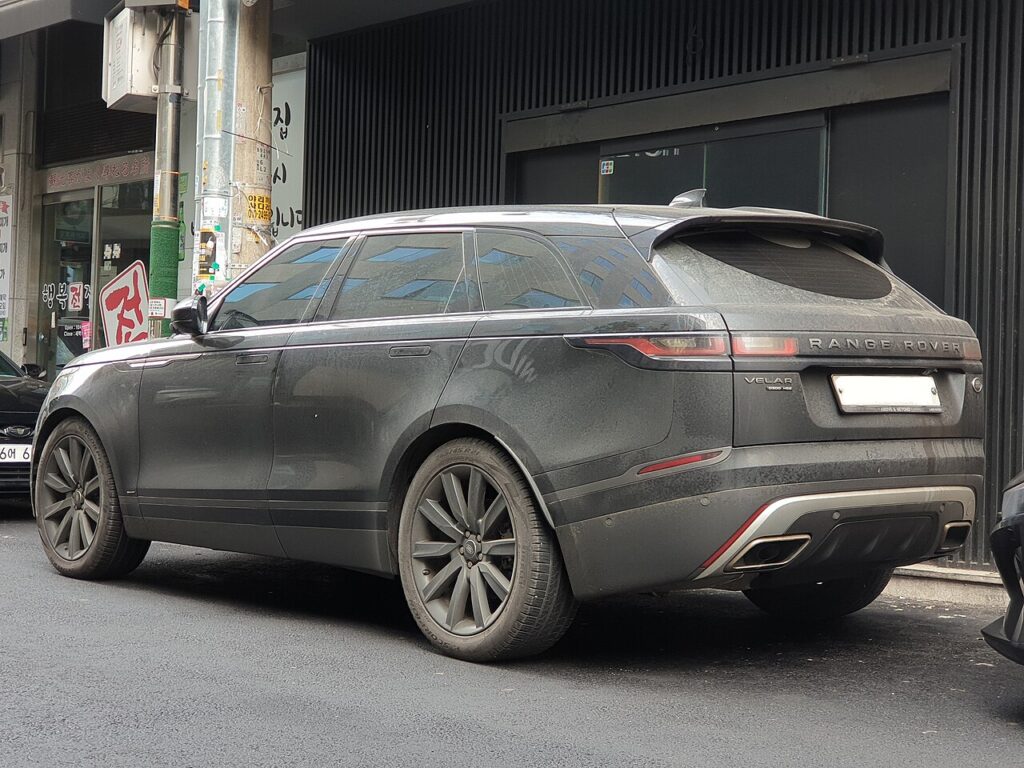
How the Velar’s System Works
The Velar uses direct sensors in each wheel that report actual pressures. There’s no reset button — once the pressures are correct, the system recognises them and the warning light goes out (it may take a short drive to confirm).
Because each sensor reads the real pressure, the Velar can pinpoint exactly which corner is low — often shown on the touchscreen tyre display — instead of just flagging a vague warning. The flip side is that a sensor with a flat internal battery, or one not matched after a wheel change, can keep the light on even when every tyre is correctly inflated.
Before You Start
- Check pressures cold where possible — before driving, or after the car has stood a few hours. Warm tyres read high.
- Set all four tyres to the placard figure in the driver’s door shut (or the handbook); the Velar lists higher pressures for full load or sustained high speed.
- Pick the load column that matches how the car is loaded before you inflate.
- Have the touchscreen tyre display open so you can see which corner, if any, is still low.
Clearing the Warning
- Check the tyres cold where possible.
- Set all four tyres to the correct pressures (placard in the driver’s door shut or handbook) — the Velar lists higher pressures for full load or high speed.
- Switch the ignition on; with the pressures correct, the warning light should go out.
- If it doesn’t clear immediately, drive for a few minutes so the sensors report.
If the Warning Stays On
- Recheck every tyre — one below spec keeps the warning on.
- Use the right load setting from the placard.
- Drive a few minutes so each sensor wakes and transmits its current reading.
- Cold morning? Pressures fall with temperature, so a tyre that was fine can drop below spec overnight — top up to the placard figure.
- After a wheel swap or seasonal change, a wheel with an unmatched or missing sensor won’t report; the light may stay on until the sensor is present and matched.
- One corner keeps dropping points to a slow puncture; have that tyre inspected rather than just re-inflating.
- Still lit with correct pressures? A sensor may have a flat internal battery or fault — look up the code on autodtcs.com.
What to Expect After
With every tyre set correctly, the warning light should go out at the next ignition-on or within a few minutes of driving as the sensors report in. It then stays off until a tyre genuinely loses pressure. The touchscreen tyre display keeps showing live pressures per corner, which is handy for spotting a slow leak early before the warning even appears.
Frequently Asked Questions
How do I reset the tyre pressure warning on a Range Rover Velar?
Set all tyres to the correct pressures — the system recognises them and the light goes out, possibly after a short drive. There’s no reset button.
Why is there no reset button?
It uses direct sensors that read actual pressures, so it clears itself once the pressures are right.
Why won’t the light go out?
Usually a tyre still below spec, the wrong load setting, or a sensor with a failing battery.
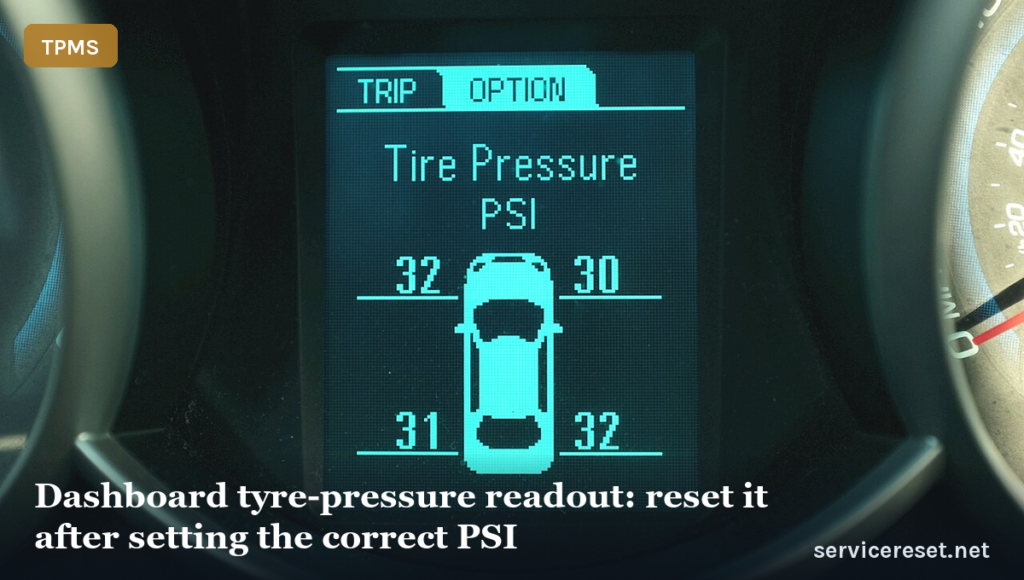
Do I need a tool?
Not for a normal reset; a failed sensor needs replacing and matching at a workshop.
The light came on after fitting winter wheels — what now?
If the winter wheels have their own matched sensors, set the pressures correctly and the warning should clear after a short drive. If they don’t carry sensors, or the sensors aren’t recognised by the car, the warning will stay on until matched. Check the touchscreen tyre display — missing corners usually indicate a sensor the car can’t see.
Can I keep driving with the tyre light on?
If it appears suddenly, especially at speed, treat it as a possible rapid deflation: ease off and inspect the tyres when it’s safe. If all pressures check out correct, it’s more likely a sensor issue than a flat tyre, and you can drive normally while arranging to have the sensor checked. Don’t simply ignore a warning that keeps returning.
If the warning came on with other lights, decode the code on autodtcs.com.
Independent guide — not affiliated with Land Rover. Always follow your official service manual and safety precautions. Read our full disclaimer.