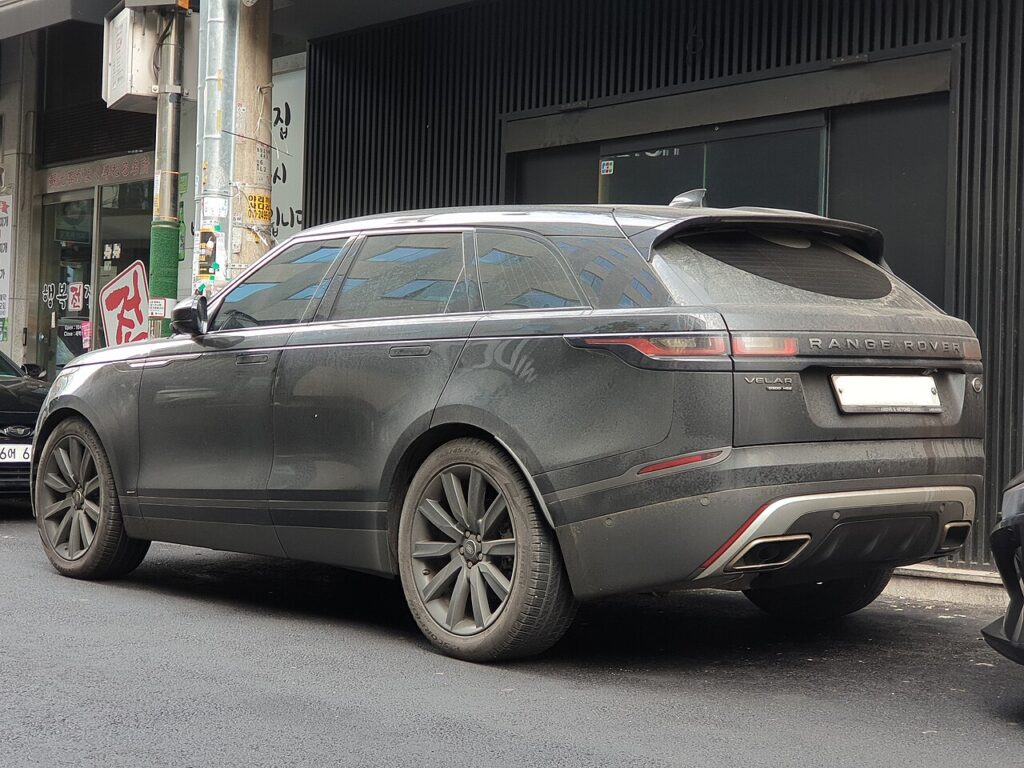
These instructions apply to the Land Rover Range Rover Velar Mk1 (L560) 2017-Present.
For other models, please choose your vehicle here.
After the battery on your Range Rover Velar (2017–present) has been disconnected or gone flat, the one-touch function on the windows often stops working — the glass only moves while you hold the switch, and a single tap no longer sends it all the way up or down. This is a normal side-effect of losing 12 V power and is not a sign that a motor or switch has failed. Re-initialising each window teaches the door module its travel limits again, and it takes only seconds per door with no tools.
How It Works on This Model
Every door on the Velar has its own window motor and a small control module that stores the exact fully-open and fully-closed positions. Those stored limits are what let the glass run automatically on one touch and let the anti-pinch (auto-reverse) safety feature tell the difference between reaching the top and hitting an obstruction. When the 12 V battery is disconnected or discharged, that memory is erased, so the module reverts to hold-to-move operation until you re-teach the limits. Nothing is damaged — the electronics simply need to see the top and bottom stops once more.
First, a Few Checks
- Do the relearn with the vehicle switched on so the windows have full power — wake the electrics with the start button (foot off the brake), or start the engine.
- Work one door at a time, using that door’s own switch rather than the driver’s master panel.
- Clear the glass path first — no ice, no arm on the sill, nothing lodged in the channel.
- Plan to hold the switch a moment past the point where the window stops; the module learns the limit from that held pressure.
Re-initialising a Window
- Pull the switch up to fully close the window, holding briefly after it stops, then release.
- Press the switch down to fully open it, again holding briefly after it stops, then release.
- Pull up to fully close once more, holding a few seconds at the top, then release.
- Test one-touch up and down, and repeat for each window that lost the function.
If It Won’t Stay Set
- Hold the switch past the end stop in each direction — the motor must feel the hard limit to record it, so a quick tap will not teach it.
- Repeat the sequence slowly. Rushing the up-down-up cycle is the usual reason a relearn fails to take.
- Check the glass runs freely. A dry or gritty channel can stall the window short of the top, so the module stores the wrong limit.
- Confirm the battery is properly reconnected and charged. A loose earth or a still-weak battery can drop voltage mid-cycle and lose the calibration again.
- Use each door’s own switch if the driver’s master switch seems to ignore that window.
- Persistent fault? A window-module issue can store a code — look it up on autodtcs.com.
Once It’s Done
Once the sequence takes, one tap up or down should run the glass smoothly to its limit, and the anti-pinch reverse will work again if the window meets resistance. The calibration is stored permanently and will only need repeating if the battery is disconnected or goes flat once more.
Frequently Asked Questions
Why did my Velar windows stop auto-closing?
The one-touch memory is cleared whenever the 12 V battery is disconnected or runs flat. Without the stored travel limits the module can only move the glass while you hold the switch. Running the short up-down-up relearn on each affected door restores automatic operation straight away.
Do I need any tools?
No. The procedure is done entirely from the window switches with the vehicle switched on. There is no fuse to pull, no touchscreen menu to enter and no diagnostic equipment needed for the standard one-touch relearn on the Velar.
Which order do I use, up or down?
Fully close and hold, then fully open and hold, then fully close and hold again. Finishing on a full close with the switch held for a couple of seconds is what fixes the upper limit and gets the anti-pinch reverse working properly.
Do I have to do every window?
Only those that lost one-touch need re-teaching, though it is quick to run the sequence on all of them. Each door stores its own calibration independently, so re-initialising one window does not set the others.
Why does the window drop back down near the top?
That is the anti-pinch feature reacting to what it reads as an obstruction. After a battery disconnect it can trigger falsely because the limits are unknown. Finish the relearn, and check the rubber channel is clean and the glass moves freely if it keeps happening.
Could a fuse be the cause instead?
A blown fuse usually stops the window moving at all, not just the automatic mode. If the glass still moves while you hold the switch, power is reaching the motor and the problem is a lost calibration, not a fuse. Try the re-initialise first before investigating further.
Just reconnected the battery? Our Velar battery disconnect/reconnect guide lists the windows among the items to re-initialise, and points to autodtcs.com if a stored code needs decoding.
Independent guide — not affiliated with Land Rover. Always follow your official service manual and safety precautions. Read our full disclaimer.