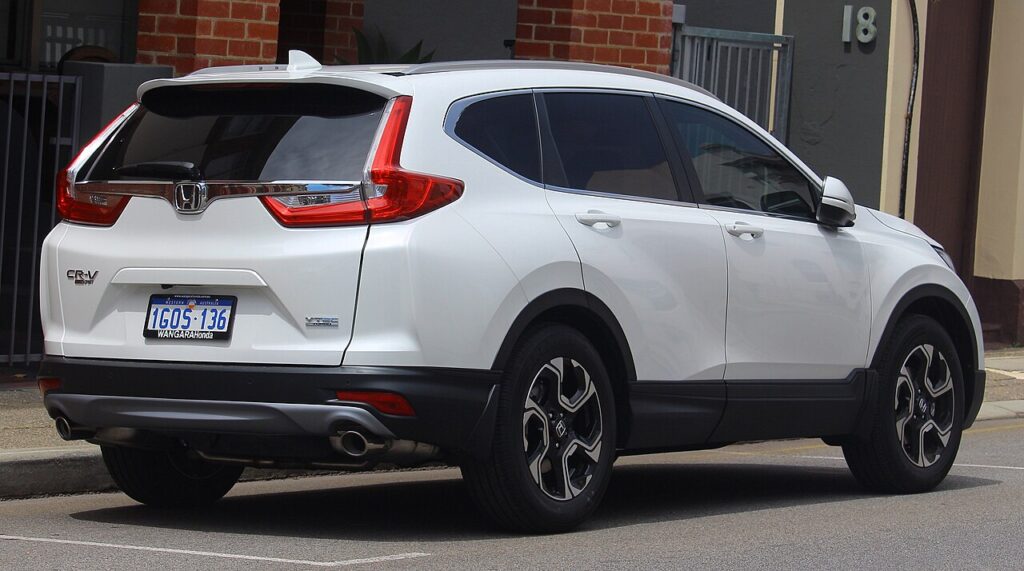
These instructions apply to the Honda CR-V Mk4 (RM) 2012-2018.
For other models, please choose your vehicle here.
The Honda CR-V (Mk4/RM, 2012–2018) has a gauge-cluster self-test built into the instrument panel, separate from the climate self-diagnostic. Hold the trip/reset button, cycle the headlights as the ignition switches on, and the cluster sweeps every needle, blinks the warning lamps and flashes the LCD — Honda’s own factory display check, no scan tool required. Here is how to open it on the Mk4 CR-V.
What the Cluster Self-Test Shows
The routine exercises the CR-V’s gauge control module: the speedometer, tachometer, fuel and coolant-temperature gauges plus the trip/odometer LCD. When it runs, the needles sweep from rest to full deflection and back, the warning indicators (ABS, brake, charging, low-fuel, seat-belt and the rest) blink in rhythm, and the LCD segments flash. It is a pure display test — nothing is read from the drivetrain and nothing is written to memory — making it the fastest way to find a dead lamp, a stuck needle or a missing LCD segment without removing the cluster.
How to Open the Hidden Diagnostic Menu
- Park, transmission in P, engine off. Make sure the odometer is in total mileage mode, not trip mode.
- Press and hold the trip/reset button on the cluster (or the SEL/RESET button on the steering wheel).
- Keeping it held, turn the headlight switch ON, then turn the ignition to ON (II) — do not start the engine.
- Within about five seconds, switch the headlights OFF, ON, then OFF again, still holding the button.
- Release the button, then press and release it three to four times. The needles sweep and the lamps blink — the self-test is running.
How to Read It
- All needles sweep minimum-to-maximum and back — watch for any that stick or lag.
- Warning lamps flash together; one that never lights is a failed bulb/LED.
- The trip/odometer LCD flashes its segments — check for missing or dim segments.
- Each further press of the reset button repeats the gauge cycle while you stay in the test.
How to Exit
Turn the ignition to OFF to leave the test. It also ends automatically once the vehicle moves above walking pace. Nothing is saved and no settings change, so you can drive away normally afterwards.
Frequently Asked Questions
Why must the odometer be in mileage mode first?
If the display is in trip mode the reset button presses reset the trip counter instead of triggering the test. Switch to total mileage before you start so the presses are read as the self-test command.
Is this the same as the climate self-diagnostic?
No. The climate test uses the heater/AC panel and reports HVAC codes. This cluster test uses the trip/reset button and headlights and only checks the gauges, lamps and LCD.
It would not enter the test — what is wrong?
The timing is tight: the headlight OFF-ON-OFF and the button presses must each happen inside about five seconds. Switch off, wait, and try again — two attempts is normal.
Will cycling the headlights cause harm?
No for a one-off check. On CR-Vs with HID headlamps, repeated on/off cycling slightly shortens bulb life; some owners pull the low-beam fuses first, but it is not necessary for occasional use.
Can running it damage the cluster?
No. It is read-only and built to be run on demand. The needle sweep and lamp flashing are the intended behaviour.
If a warning lamp stays lit after the test rather than just flashing during it, a diagnostic trouble code is stored — decode what it means on autodtcs.com.
Independent guide — not affiliated with Honda. Always follow your official service manual and safety precautions. Read our full disclaimer.