These instructions apply to the Suzuki Celerio Mk1 (LF) 2014-2019.
For other models, please choose your vehicle here.
The Suzuki Celerio (LF) has a conventional 12V battery in the engine bay (around size 34B19L). Disconnecting it — to replace the battery or work on the electrics — follows the standard order, and a couple of small features need re-setting afterwards.
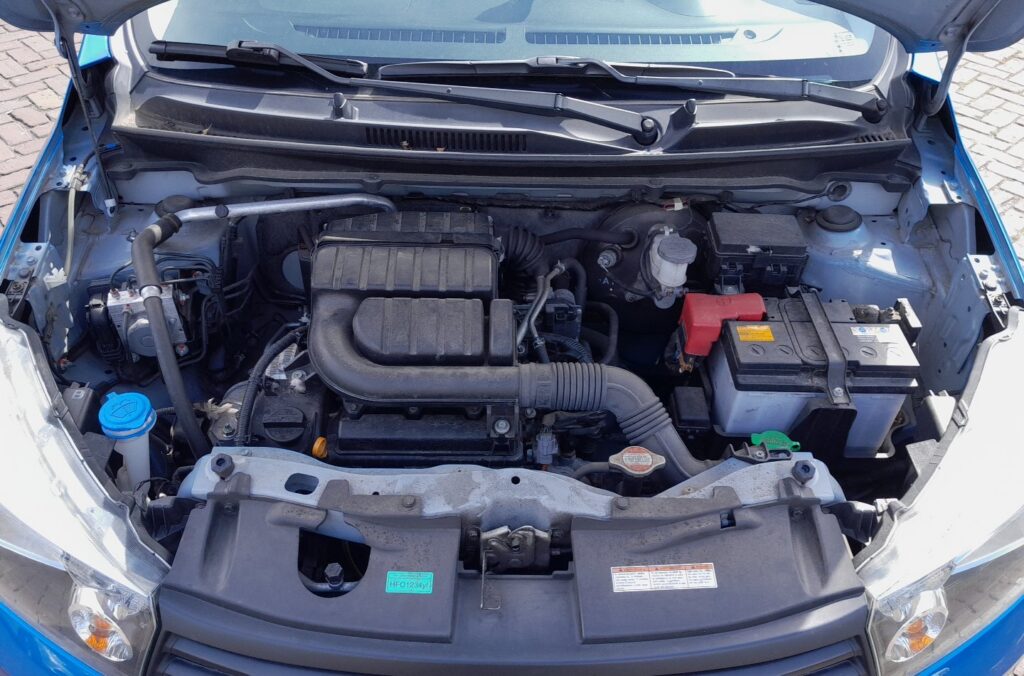
Before you start
- Turn the ignition off and remove the key before touching the terminals.
- Have the clock time ready to re-enter; there is no radio security code to worry about.
- Switch off the ignition and all electrical loads, then open the bonnet.
- Loosen and remove the negative (−) terminal first and tuck the cable clear of the post.
- Remove the positive (+) terminal next, then release the clamp and lift the battery out if replacing it.
- Fit the replacement battery, then reconnect the positive (+) terminal first and tighten it.
- Reconnect the negative (−) terminal last and tighten it, then close the bonnet.
- Start the car, re-set the clock, and re-initialise the driver’s one-touch window function (see the window article).
FAQ
Do I need to relearn the key or enter a radio code after disconnecting the battery?
No. The Celerio’s remote key keeps working after a battery disconnect, and the factory audio does not use a security code, so nothing needs re-entering there.
What stops working after I reconnect the battery?
The clock resets and the driver’s window loses its one-touch auto up/down until you re-teach it. The engine may also idle slightly unevenly for the first few restarts while it re-learns idle values automatically — no owner action is needed for that.
Which terminal comes off first?
Always disconnect the negative (−) terminal first and reconnect it last. Removing negative first prevents a spanner bridging the positive post to the bodywork and causing a short.
Independent guide — not affiliated with Suzuki. Always follow your official service manual and safety precautions. Read our full disclaimer.