These instructions apply to the Suzuki Swift Mk3 (AZG/AZH) 2010-2017.
For other models, please choose your vehicle here.
If the battery has been disconnected or the fuse system has been reset, the power windows in the Suzuki Swift may lose their automatic function. To restore one-touch operation, the windows need to be re-initialized.
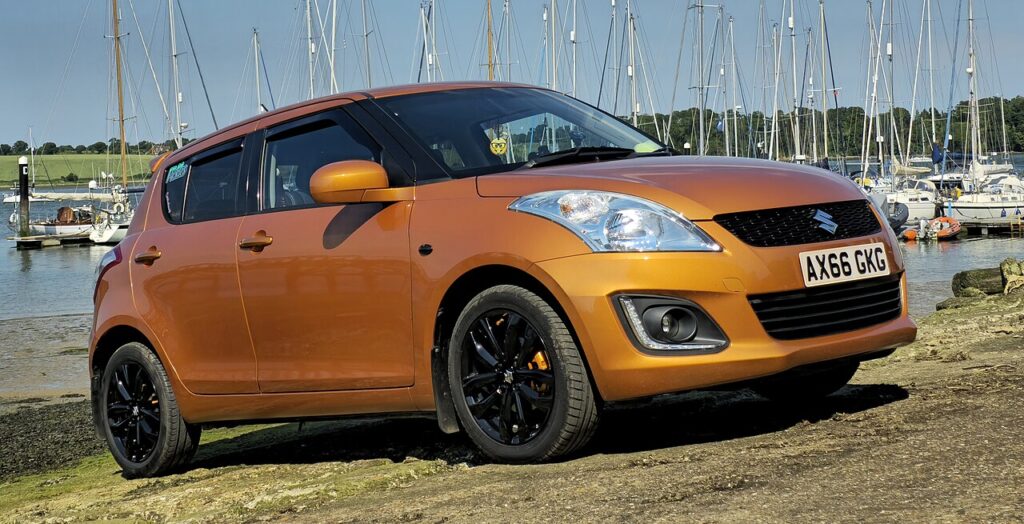
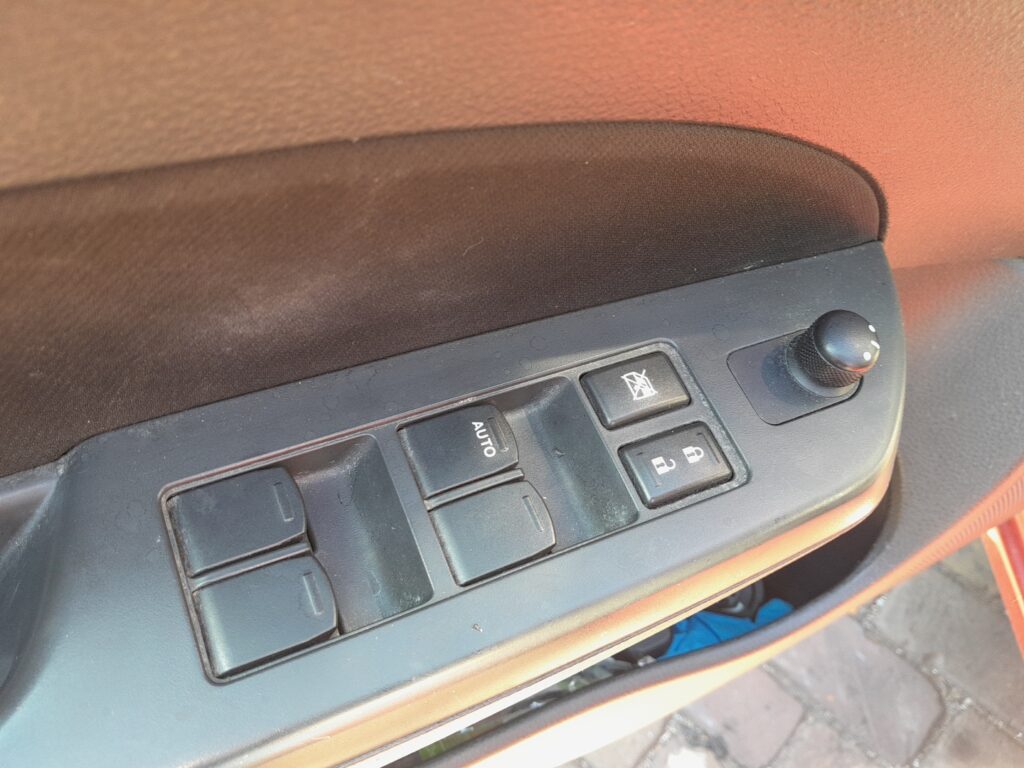
On the Swift the driver’s window — and on higher trims the other three — can be raised or lowered with a single tap thanks to a one-touch (auto up/down) feature. The window motor remembers its own fully-open and fully-closed stops, and the same memory drives the anti-pinch safety, which reverses the glass if it senses an obstruction on the way up. Losing this calibration is not a fault: it is simply the module waking up with no travel data and refusing to guess.
How it works on this Swift
Each window has a small control module that counts motor rotations to know where the top and bottom of the travel are. When the 12 V supply is cut — a flat battery, a jump start, a battery swap, or pulling the power-window fuses — that stored count is wiped. Until you teach it the limits again, the glass will still move while you hold the switch, but the one-touch tap and the auto-reverse anti-pinch stay disabled for safety. Re-initializing writes the end stops back in.
First, a Few Checks
- Sit in the driver’s seat with the door closed so the window has a clear, square run in its channel.
- Make sure the battery is healthy and fully charged — a weak supply is the most common reason the relearn will not take.
- Clear anything resting on the glass or in the door aperture, and keep hands and fingers out of the opening.
- Locate the interior fusebox before you begin so the fuse steps go quickly.
- Do each window one at a time and finish the full sequence before moving to the next.
Initialization Procedure
Switch the ignition OFF.
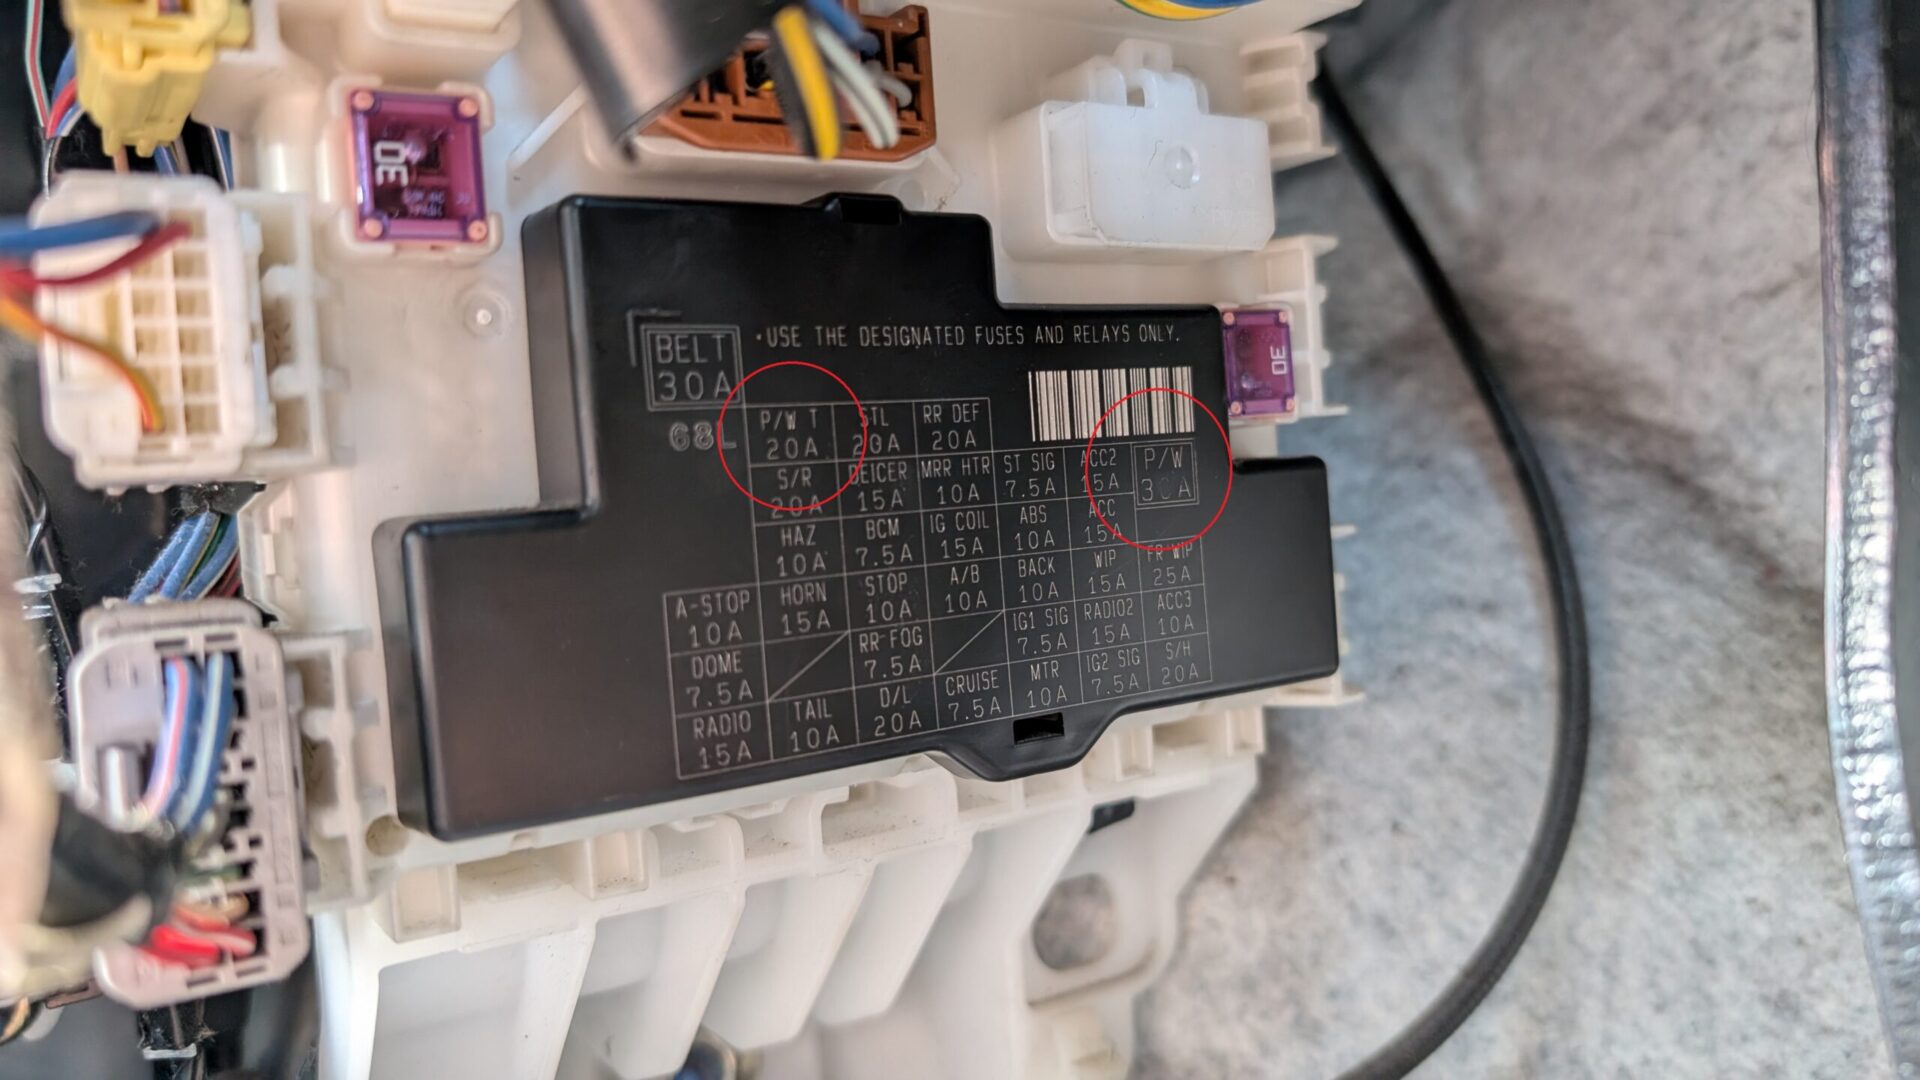
Locate the interior fusebox on the driver’s side left pillar near the pedals.
Disconnect the P/W T and P/W fuses.

Interior fusebox location: driver’s left pillar near the pedals (P/W T and P/W fuses). Pull and hold the window close switch for about 15 seconds.
Release the switch.
Reconnect the P/W T and P/W fuses.
Turn the ignition ON.
Press and hold the window open switch until the window is fully open.
Pull and hold the window close switch until the window is fully closed.
Keep holding the switch for an additional 2 seconds.
Release the switch and check proper operation.
Repeat the procedure for the passenger-side window.
Switch the ignition OFF – the process is complete.
If it won’t stay set
- Hold each limit long enough. Releasing the close switch too early is the usual reason the module never records the top stop — keep it held for the full extra couple of seconds.
- Re-run the whole sequence. If the first attempt did not take, simply repeat it from the start; a second pass fixes most cases.
- Check the fuse contacts. Make sure the P/W T and P/W fuses are seated firmly when you refit them — a loose fuse can drop the supply mid-relearn.
- Rule out a weak battery. Charge or test the 12 V battery; low voltage during the procedure is the most common cause of a relearn that will not stick.
- Watch for a binding window. A dry or dirty run channel makes the glass drag, and the motor can read the extra load as the end stop in the wrong place.
- Look for a stored fault. If one-touch still fails after two clean attempts, a motor or switch fault may be logged — you can look the code up on autodtcs.com.
What to expect after
Once the sequence is complete, a single tap up or down should drive the window all the way to its stop, and the anti-pinch reverse is active again. The setting is stored in the module and stays put until the next time the 12 V supply is interrupted. There is no warning light for this feature, so the only confirmation is the window itself behaving normally on both doors.
Frequently Asked Questions
Why did my Swift windows stop auto-closing?
The window module lost its stored travel limits, which happens whenever the 12 V supply is cut — a flat or disconnected battery, a jump start, or pulling the power-window fuses. Without the limits the glass still moves while you hold the switch, but one-touch and anti-pinch stay disabled until you re-initialize.
Do I really need to pull the fuses?
On this Swift the relearn is done with the P/W T and P/W fuses, so follow the fuse steps as written. Pulling and refitting them while holding the close switch is what puts the window module into its learning state so it will record the new end stops.
Do I have to do every window?
Yes on trims with more than one power window. Each window has its own module and its own stored limits, so the sequence has to be repeated door by door. The procedure covers the driver and passenger front windows; run the same steps on any rear windows fitted to your trim.
The window reverses before it reaches the top — why?
That is the anti-pinch safety reacting to resistance. A dirty or dry run channel, a slightly misaligned glass, or cold, stiff seals can add enough drag to trigger it. Clean and lubricate the channel, then re-run the initialization so the module relearns the true closed position.
Could a blown fuse be the real problem?
It can. If a window will not move at all, or none of them respond, check the P/W T and P/W fuses before assuming the calibration is lost. A window that still moves while held but has simply lost its one-touch tap is a calibration issue, not a blown fuse.
Will disconnecting the battery again undo this?
Yes. Any future interruption of the 12 V supply — battery replacement, a flat battery, or working on the electrics — wipes the stored limits again. It is a normal side effect, not damage; just run the same initialization sequence afterwards to bring one-touch and anti-pinch back.
If you have just reconnected or replaced the battery, it is worth re-checking the other convenience settings at the same time, and if a fault code appears you can decode it on autodtcs.com.
Independent guide — not affiliated with Suzuki. Always follow your official service manual and safety precautions. Read our full disclaimer.