These instructions apply to the Kia Niro Mk1 (DE) 2016-2022.
For other models, please choose your vehicle here.
The Kia Niro Mk1 (DE, 2016–2022) is a hybrid, so it has two completely separate batteries: a high-voltage traction battery (never touch it) and a small 12 V auxiliary battery that runs the lights, locks and electronics. This guide covers safely disconnecting and reconnecting the 12 V auxiliary battery — the one you change or isolate for electrical work — and what to re-teach afterwards.
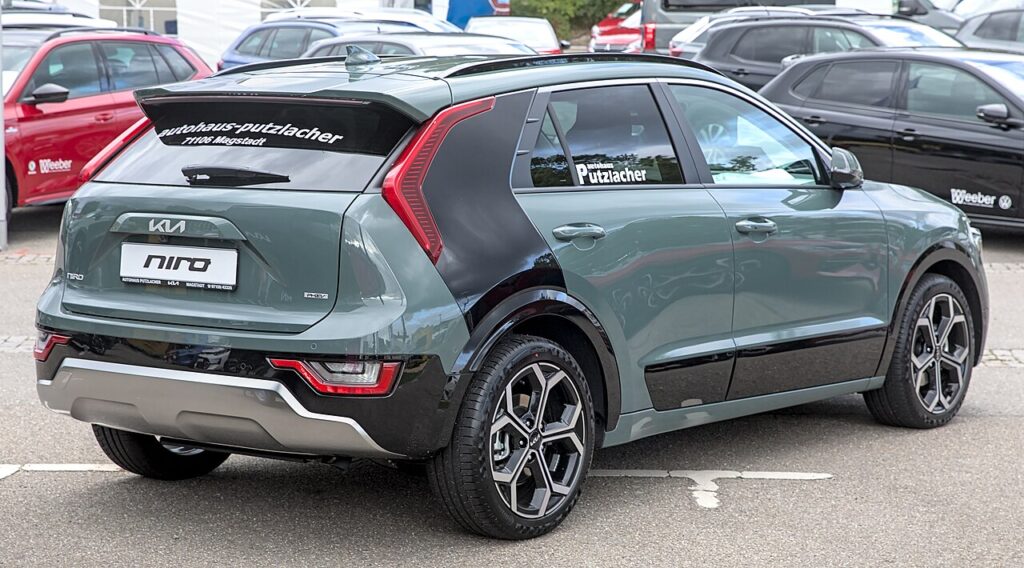
Important: Which Battery This Is
You are only working on the small 12 V auxiliary battery. Never touch the orange high-voltage cables or the traction battery — that system is for trained technicians with the right equipment only. The 12 V job below is safe for an owner with hand tools.
Where the 12V Battery Is
On the Niro hybrid the 12 V auxiliary battery is not under the bonnet — it’s in the luggage compartment, on the right-hand side under the boot floor/side cover (some variants locate it under the rear seat). The engine bay only carries the jump-start terminals for boosting a flat 12 V. Check your handbook if unsure which layout your car has.
Disconnecting the 12V Battery
- Make sure the car is fully off (not in “ready”) and the smart key is well away from the car.
- Open the boot and lift off the right-side trim/floor cover to reach the battery.
- Loosen the negative (−, black) terminal clamp first and lift the lead clear, tucking it aside.
- If removing the battery, loosen the positive (+, red) terminal next, then the hold-down.
Airbag/pretensioner safety: if you’ll be working near airbags or seat-belt pretensioners, wait 3 minutes after disconnecting before going further.
Reconnecting
- Refit the battery and hold-down if removed.
- Connect the positive (+) terminal first, then the negative (−) last. Tighten both firmly and refit the cover.
What to Re-set Afterwards
- Date and time — reset in the cluster/infotainment.
- Trip computer — check the consumption figures.
- Power windows — auto up/down may need re-initialising. See our Niro Mk1 window initialise guide.
- Sunroof (if fitted) — re-initialise the tilt/slide. See our Niro Mk1 sunroof guide.
Kia does not require the new 12 V battery to be coded on the Niro — fit it and re-teach the items above.
Frequently Asked Questions
Is it safe to disconnect the 12V battery on a hybrid?
Yes — the 12 V system is isolated from the high-voltage side. Just leave the orange HV cables and traction battery alone.
Which terminal first?
Disconnect negative (−) first and reconnect it last, to avoid shorting against the body.
Why is the battery in the boot and not the engine bay?
Hybrids package the 12 V battery in the rear to free up engine-bay space for the hybrid hardware. The under-bonnet terminals are just for jump-starting.
Does the Niro need the new battery coded?
No — just fit it and re-teach the windows/sunroof. No dealer coding is required.
For any warning light that stays on, look up the code on autodtcs.com. To clear the service reminder, see our Niro Mk1 service indicator reset guide.
Independent guide — not affiliated with Kia. Always follow your official service manual and safety precautions. Read our full disclaimer.