These instructions apply to the Chevrolet Captiva (C140) 2011-2018.
For other models, please choose your vehicle here.
Disconnecting the 12 V battery on your Chevrolet Captiva (C140, 2011–2018) is one of those jobs owners put off, yet it is well within reach with a single spanner and a few minutes of care. You might be renewing a tired battery that no longer holds charge through a cold night, laying the car up for winter storage, carrying out electrical or bodywork repairs, or recovering from a jump-start that has left the systems confused. Whatever the reason, the Captiva takes the interruption in its stride: done in the correct order, it powers down and relearns its settings cleanly, and nothing is permanently lost beyond a handful of presets you can key straight back in.
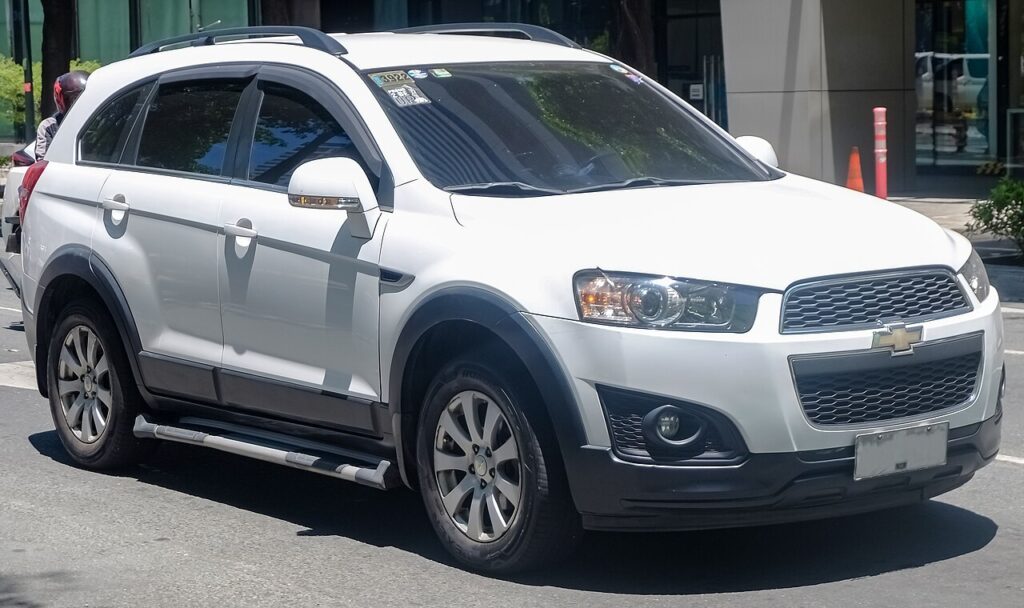
Where the 12 V Battery Is
The 12 V battery on the Captiva lives in the engine compartment, in the usual front corner under a cover. Lift the bonnet, prop it securely, and look for the plastic trim or clamp bracket that shields the terminals. The two posts are marked: the negative (−) is the black earth lead that runs to the body and engine, and the positive (+) is the red post, usually hidden under a hinged red cap. Take a moment to be sure which is which before you reach for a spanner — getting the order right is the whole trick to a clean job.
Before You Start
- Switch the ignition fully off, take the key well away from the car, and close the doors so nothing wakes the electrics.
- Turn off the lights, climate blower, radio and any accessories — you want zero load on the battery.
- Note your radio security code and preset stations now, along with the clock, in case the head unit asks for the code on power-up.
- Let the car sit for a couple of minutes so the control modules go fully to sleep before you break the connection.
- Have the correct spanner ready, and wear gloves and eye protection — a battery can spark and holds acid.
Disconnecting the Battery
- Confirm the ignition is off and every electrical consumer is switched off.
- Loosen the clamp on the negative (−) terminal first, ease the lead off the post, and tuck it aside so it cannot spring back onto the terminal.
- Now loosen and remove the positive (+) lead, and cover the bare post or move the lead clear of any metal.
- If you are working near the airbags or seat-belt pretensioners, wait a few minutes after disconnecting before you go near them.
Reconnecting the Battery
- Refit the positive (+) terminal first, seat the clamp fully and tighten it so it cannot move.
- Refit the negative (−) terminal last and tighten that clamp too — a loose earth is the most common cause of odd faults afterwards.
- Check both clamps are firm, then close the terminal covers.
What You’ll Need to Reset Afterwards
- Clock and radio — re-enter the time and your preset stations, and key in the security code if the head unit asks for it.
- One-touch windows — if a window loses its auto-up/auto-down, hold the switch at the fully closed and fully open positions for a moment to relearn the limits.
- Warning lights — a few may glow at first and then self-clear once the car has seen a short drive and the systems have recalibrated.
A straightforward like-for-like 12 V battery of the correct size and rating drops in without any special coding on this model.
If a Warning Light Stays On or the Car Feels Off
- Re-check that both clamps are tight and clean — a poor earth mimics all sorts of electrical gremlins.
- Take the car for a short drive to let the modules relearn and settle.
- Redo the window relearn if one-touch has not returned.
- Rule out a genuinely flat or worn-out battery — a fresh disconnect will not revive a battery that was already failing.
- If a light is stubborn, it has stored a code — read it and look it up.
Frequently Asked Questions
Where is the battery on a Chevrolet Captiva?
In the engine compartment, in the usual front corner under a cover. Lift the bonnet, remove the trim or clamp bracket over the terminals, and you will find the negative (−) black lead and the positive (+) red post under its cap.
Which terminal do I disconnect first?
Always the negative (−) first when disconnecting, and reconnect it last. On reconnection the positive (+) goes on first. Keeping to that order avoids sparks and short circuits while you work.
What will I need to reset afterwards?
The clock and radio presets, possibly the radio security code, and the one-touch window function if it drops out. A few warning lights may appear briefly and then clear themselves after a short drive.
Does a new battery need coding on the Captiva?
No. A like-for-like replacement of the correct size and rating simply fits and works — there is no dealer coding step for a standard 12 V battery on this model.
Will disconnecting the battery clear stored fault codes?
It can clear some temporary codes and reset the adaptations, but a genuine fault will store its code again once the car sees the condition. Disconnecting is not a substitute for finding the real cause.
Can I jump-start it instead of disconnecting?
Yes — if you only need to get going after a flat battery, a jump-start avoids any disconnection at all. You would only disconnect the battery for renewal, storage, or work on the electrical system.
If a warning light stays on after reconnecting, look up the stored code on autodtcs.com.
Independent guide — not affiliated with Chevrolet. Always follow your official service manual and safety precautions. Read our full disclaimer.