These instructions apply to the Hyundai i40 Mk1 (VF) 2011-2019.
For other models, please choose your vehicle here.
Disconnecting the 12 V battery on a Hyundai i40 (VF, 2011–2019) is a straightforward engine-bay job for a battery change, bodywork or electrical repair, or long-term storage. Do it in the right order and re-teach a couple of settings afterwards so the car behaves normally.
Disconnecting the Battery
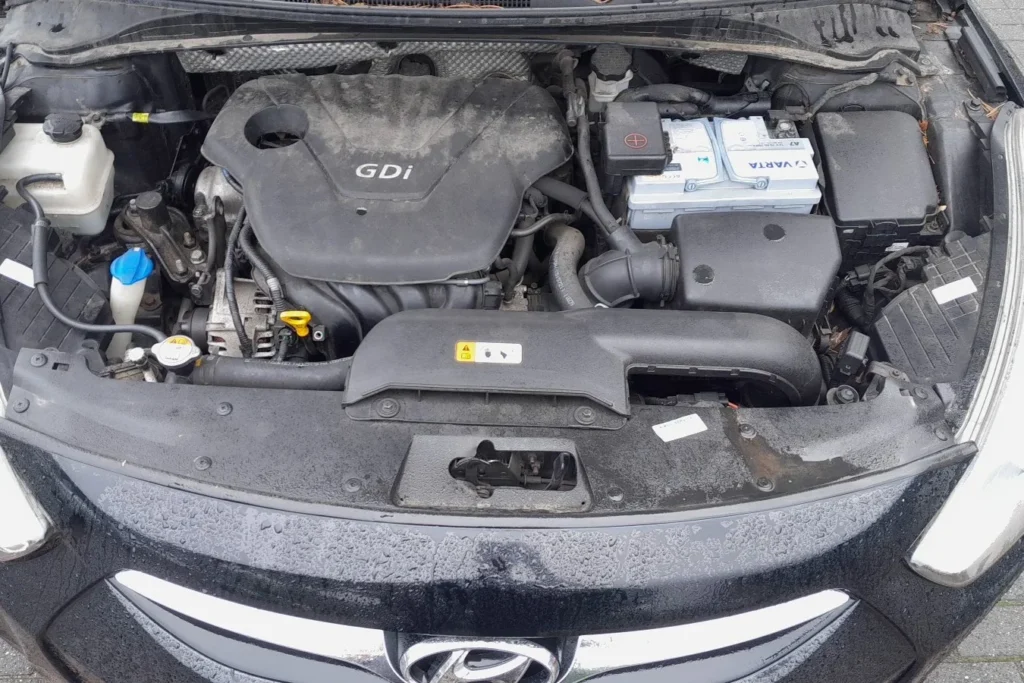
- Turn the ignition OFF and remove the key. Make a note of your radio presets first.
- Open the bonnet and find the battery in the engine bay.
- Slacken and remove the negative (−, black) terminal first, then tuck the lead aside so it cannot spring back.
- If you are removing the battery, disconnect the positive (+, red) next, release the clamp, and lift it out level.
- If you will work near airbags or seat-belt pretensioners, wait 3 minutes after disconnecting before touching them.
Reconnecting and What to Re-set
- Refit the battery, connect the positive (+) first, then the negative (−) last, and tighten both firmly.
- Reset the clock and date and re-enter your radio presets.
- Re-initialise the power windows so the one-touch auto-up works again — see our i40 power-window initialisation guide.
Frequently Asked Questions
Which terminal comes off first on the i40?
Always the negative (−) terminal first when disconnecting, and reconnect it last. This avoids a short if your spanner touches bodywork while the positive is still live.
Will I lose any settings?
The clock, radio presets and the power-window auto-up will need re-setting. Stored fault codes may also clear. The engine will relearn its idle over the first few minutes of running.
Why do the windows stop auto-closing after a battery change?
The window motors lose their learned top position when power is cut, which disables the one-touch auto-up. Re-initialising each window teaches it back.
If a warning light stays on afterwards, look the code up on our sister site autodtcs.com to see what it means.
Independent guide — not affiliated with Hyundai. Always follow your official service manual and safety precautions. Read our full disclaimer.