These instructions apply to the Toyota C-HR Mk1 (XW10) 2016-2023.
For other models, please choose your vehicle here.
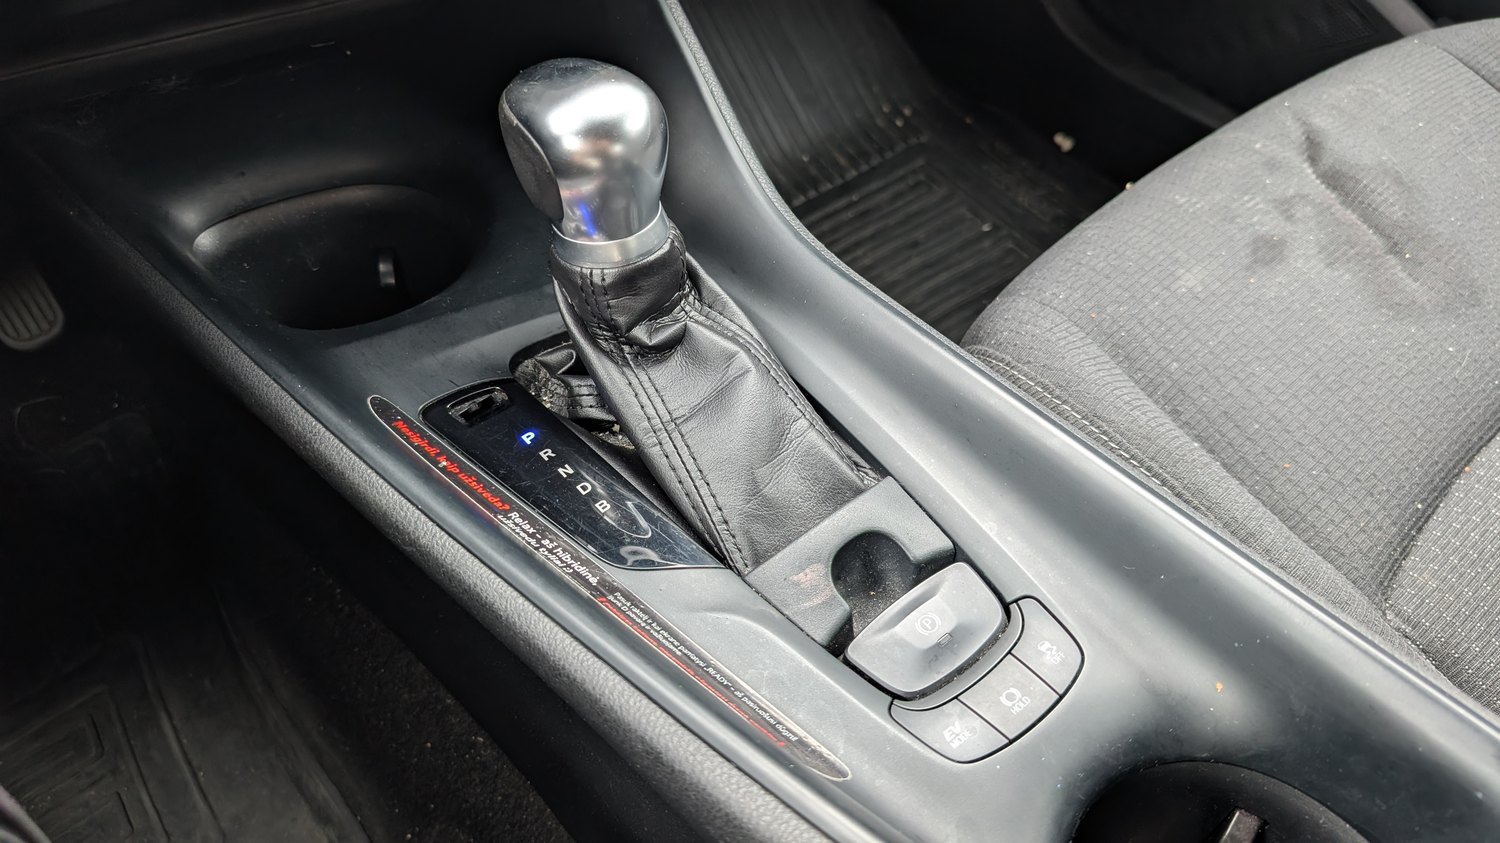
The Toyota C-HR (Mk1/AX10, 2016–2023) uses an electronic parking brake (EPB): a switch on the centre console and a small geared motor on each rear caliper instead of a handbrake lever or pedal. Before you change the rear pads or discs those motors have to wind their pistons fully open and stay there — the job of pad-replacement (maintenance) mode. On the C-HR this is a tool-led procedure: Toyota’s factory route uses Techstream, and a generic OBD EPB scan tool does the same job. There is no dependable owner button trick, so plan on using the tool.
What pad-replacement mode is and why you need it
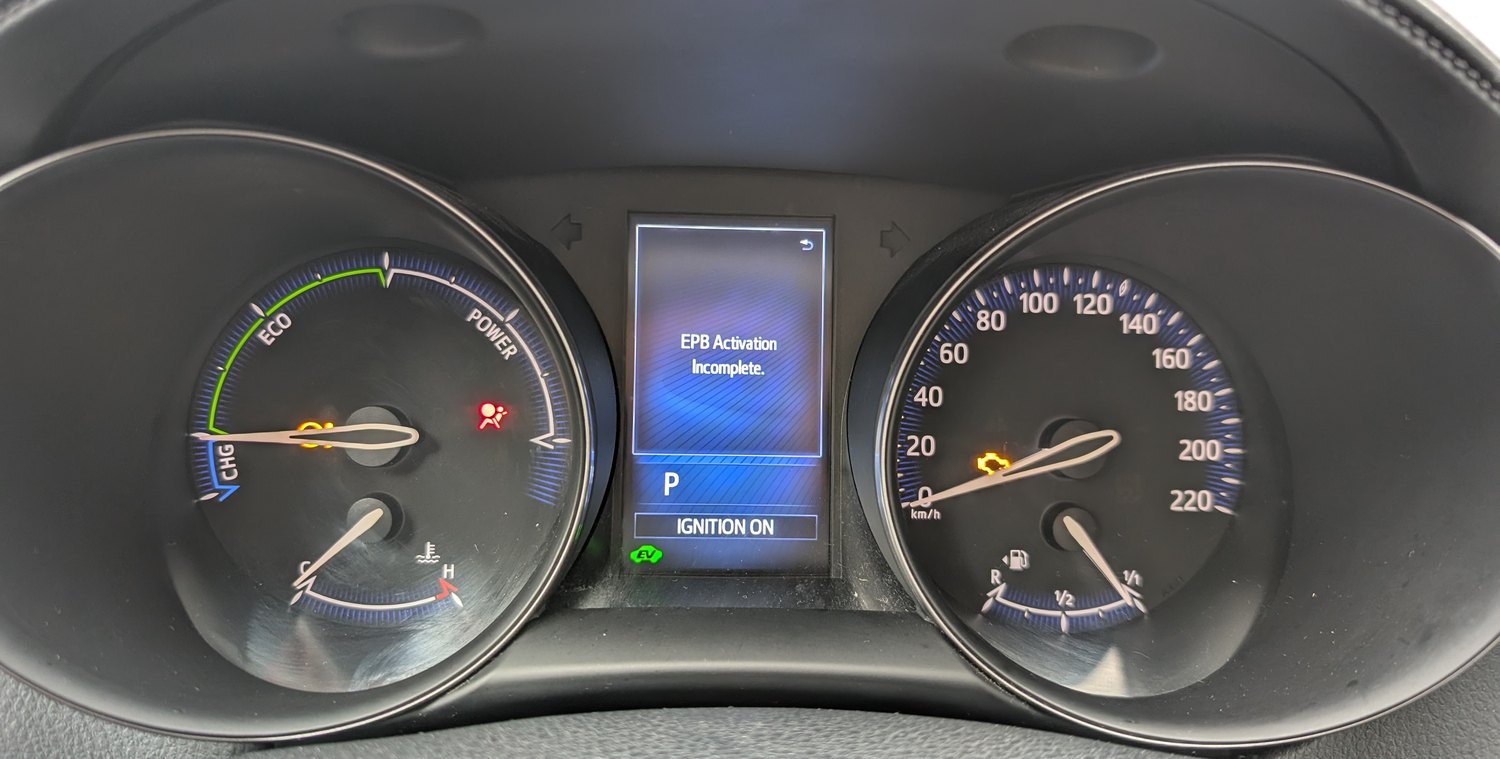
Each rear caliper has an electric motor that drives the parking-brake nut against the piston. With the EPB applied that nut blocks the piston from being pushed back for thicker new pads. Pad-replacement mode runs the motors to wind the nut fully back inside the cylinder and disables the EPB so it cannot re-apply while the caliper is open. With it active the dash shows a parking-brake warning and the brake will not engage — the clearance you need to work.
Entering EPB service mode on the C-HR Mk1
Park on level ground, chock a front wheel and switch Brake Hold OFF. Use a scan tool:
- Plug a Techstream (or a generic OBD2 tool with a Toyota EPB function) into the DLC3 port under the dash and set the ignition to ON.
- Navigate to Chassis → Brake/EPB → Utility → Pad Replacement (EPB Release).
- Follow the prompts; the rear motors run and wind the nuts back. The parking-brake light flashes then settles, confirming the mode.
- Switch off and lift the car. The pistons are now free to be pressed back for the new pads.
Entering the mode may store DTC C13A7 — expected, and cleared with the tool when the job is done.
Never force the pistons back by hand
The rule that protects your calipers: never wind or force the EPB pistons back with a clamp, a wind-back tool or by hand while the system is live. The piston is driven by a geared motor; forcing it backwards strips the gearset or burns out the motor — a new caliper, not a cheap fix. Retract only electronically with the tool. Once pad-replacement mode has wound the nut back, the C-HR’s sliding piston presses in with an ordinary caliper clamp and light pressure. If it still feels tight, stop and confirm the mode actually took.
Exit and bed-in
With the new pads fitted and the wheels back on, use the tool to close pad-replacement mode and clear any stored EPB code. Then switch the ignition ON, press the brake pedal firmly and apply and release the EPB two or three times with the console switch so the motors re-learn the thicker pads, checking the brake warning clears. Finish with a road bed-in: from about 30 mph (50 km/h) brake firmly but not to a stop, repeat eight to ten times with cooling gaps, then confirm the parking brake holds on a slope.
Frequently Asked Questions
Does every C-HR Mk1 have the EPB? Yes — the first-generation C-HR, petrol and 1.8 hybrid, uses the console EPB switch with Brake Hold on every trim. There is no lever or foot handbrake.
Can I do it without a scan tool? A manual switch-and-pedal sequence is shared around, but it is inconsistent on the C-HR and a failed attempt sets a parking-brake malfunction you then need a tool to clear. A cheap OBD2 EPB tool is the safe, repeatable route.
Is the hybrid C-HR different? The EPB hardware is the same. Make sure the car is fully OFF (not in READY) before connecting the tool; the retract-and-relearn steps are identical.
Why is the parking-brake light still on after the job? It clears once the EPB re-tensions through a full apply-and-release on the new pads and any C13A7 is cleared with the tool. If it stays lit, scan for a stored EPB code.
Does the piston wind or press back? On the C-HR the rear piston presses straight in once the nut is retracted — do not turn it. Use a clamp, never force it against a live EPB.
If a warning lamp or stored fault code appears during the job, you can look up what it means on our sister site autodtcs.com.
Independent guide — not affiliated with Toyota. Always follow your official service manual and safety precautions. Read our full disclaimer.